It is not very uncommon that we move to a new development environment and do not see the necessary build tools and config present
for our needs. One such case is when I got handed over a Mac and when I tried to compile my competitive programming template, I ran into an issue with bits/stdc++.h not being available. To fix it, I’d have to use awkward workarounds like copying or symlinking the file. Though it got the job done, but it wasn’t an ideal solution.
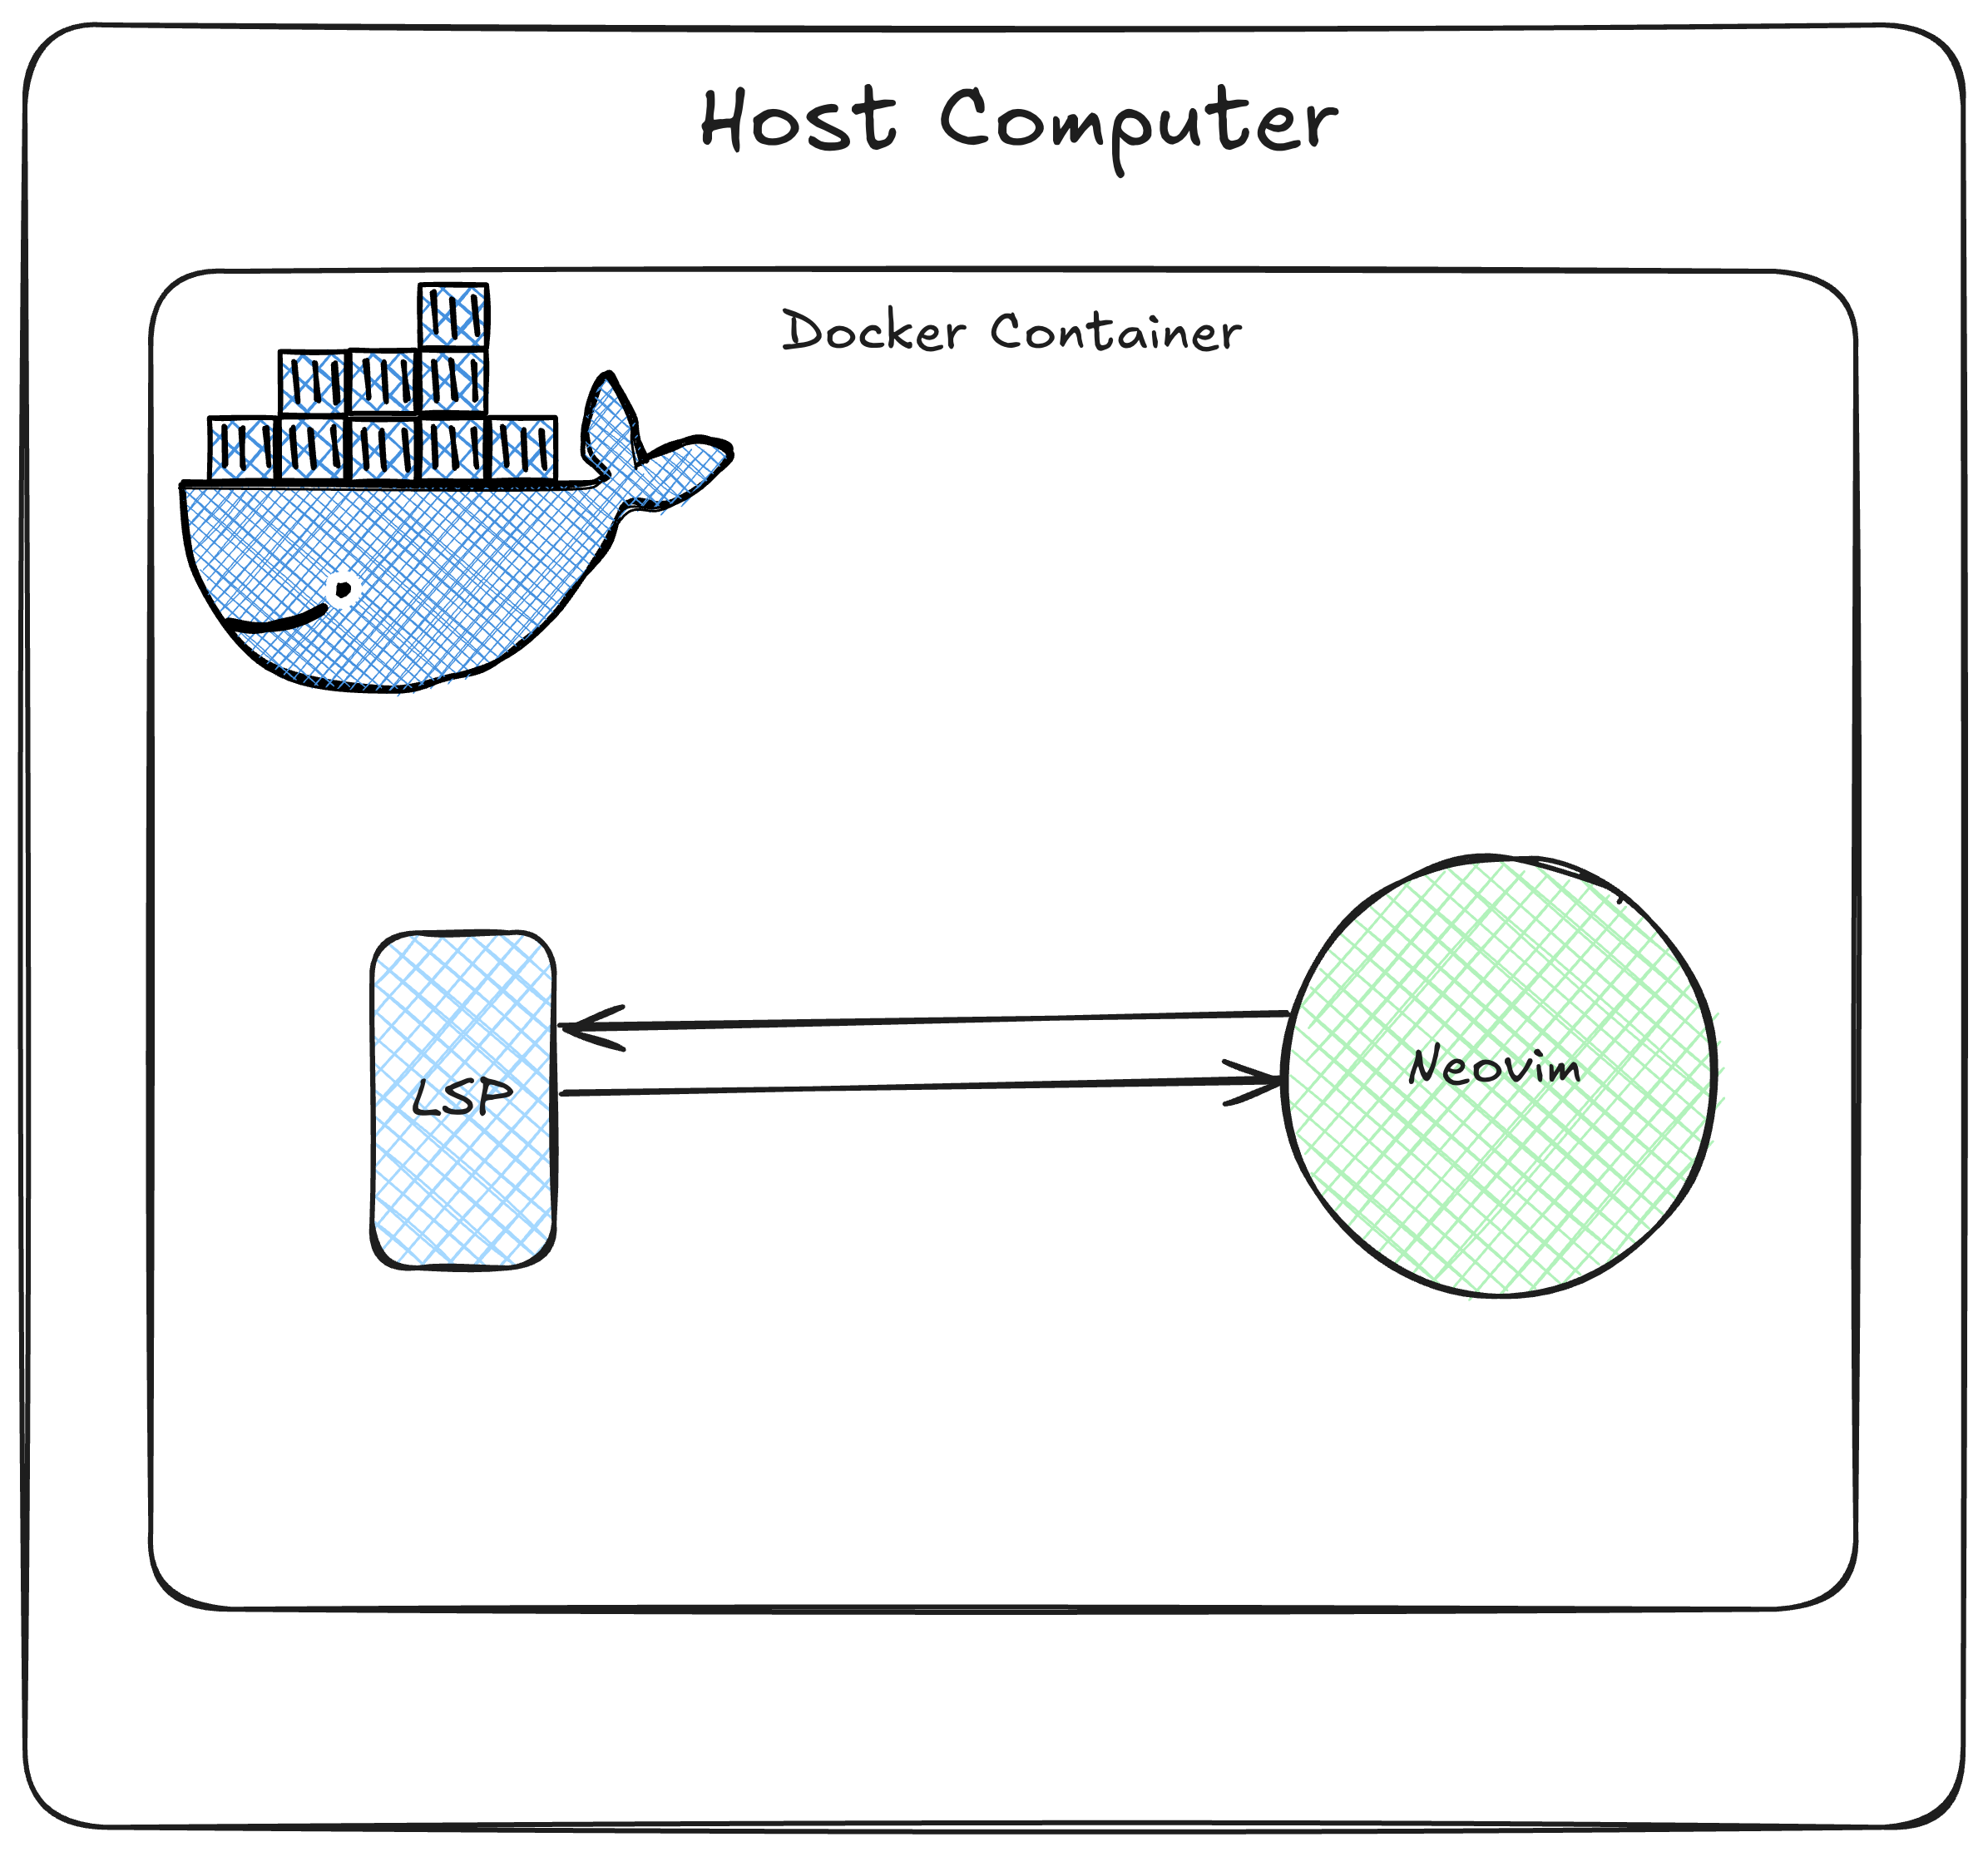
I’ve noticed many inconsistencies when developing on an environment that isn’t consistent. To work around this, I started using VSCode’s Remote Docker extension, which allow access to edit files in any Docker container from within the comfort of your editor. It’s really convenient!!! As someone who prefers Neovim for daily use, I thought it would be awesome to bring a similar experience to my go-to editor Neovim.
How to achieve this?
Technically, we can execute any shell program inside Docker container, even
neovim
Step 1: Select Appropriate Docker Image for Usage
First, select an image for the Docker container - popular options are standard Linux choices like Ubuntu or Alpine. We’ll stick with Ubuntu because it includes everything needed for a normal competitive programming setup.
After we have selected the image, let’s create a Dockerfile . Update the contents of Dockerfile with following content.
# Dockerfile
FROM ubuntu:18.04
Step 2: Install the necessary dependencies
At this point, the Docker container only has default depepndencies that came built-in with the Docker image. For competitive programming, we need some additional dependencies to install like compiler (clang), LSP server (for sweet auto-completion) and neovim (editor of choice).
Append the following commands in the Dockerfile.
#  Dockerfile

RUN apt-get update && apt-get install -y \
  xz-utils \
  build-essential \
  curl \
  && rm -rf /var/lib/apt/lists/* \
  && curl -SL https://github.com/llvm/llvm-project/releases/download/llvmorg-14.0.0/clang+llvm-14.0.0-x86_64-linux-gnu-ubuntu-18.04.tar.xz \
  | tar -xJC . && \
  mv clang+llvm-14.0.0-x86_64-linux-gnu-ubuntu-18.04 clang_10.0.0 && \
  echo 'export PATH=/clang_10.0.0/bin:$PATH' >> ~/.bashrc && \
  echo 'export LD_LIBRARY_PATH=/clang_10.0.0/lib:$LD_LIBRARY_PATH' >> ~/.bashrc

# Install neovim and other necessary deps for use
RUN apt-get update && apt-get install -y python3.6 git locales neovim python3-neovim
At this stage, your Dockerfile should see something like this.
FROM ubuntu:18.04

# Make sure the image is updated, install some prerequisites,
# Download the latest version of Clang (official binary) for Ubuntu
# Extract the archive and add Clang to the PATH
RUN apt-get update && apt-get install -y \
  xz-utils \
  build-essential \
  curl \
  && rm -rf /var/lib/apt/lists/* \
  && curl -SL https://github.com/llvm/llvm-project/releases/download/llvmorg-14.0.0/clang+llvm-14.0.0-x86_64-linux-gnu-ubuntu-18.04.tar.xz \
  | tar -xJC . && \
  mv clang+llvm-14.0.0-x86_64-linux-gnu-ubuntu-18.04 clang_10.0.0 && \
  echo 'export PATH=/clang_10.0.0/bin:$PATH' >> ~/.bashrc && \
  echo 'export LD_LIBRARY_PATH=/clang_10.0.0/lib:$LD_LIBRARY_PATH' >> ~/.bashrc

RUN apt-get update && apt-get install -y python3.6 git locales
Now let’s build the Dockerfile using the following command. You can execute execute the following on command line. It will build
a docker image with tag competitive, extending the base image of Ubuntu. Once this command get’s completed, we can use this image
to create Docker containers.
# Make sure to be in the same directory as the `Dockerfile`.
# It will build the image from Dockerfile.
docker build -t competitive .
Step 3: Mount the directories
Now the Docker image is ready for usage. It’s time to run the container and mount the needed directories. This is needed so that output of program inside the Docker container can be used outside the Docker container a.k.a host machine.
To perform this, we can use volumes to attach directories from the host system to the Docker container.
This can be done via the following command, which will run a Docker container from competitive image.
docker run \
    -e TERM=screen-256color \
    -v $(pwd):/app/competitive \
    -v $HOME/.dotfiles/nvim/.config/nvim:/root/.config/nvim \
    --name competitive -dit competitive
Above command will run the image competitive in a container name competitive, and attach the directories from the host
operating system to the Docker container.
Step 4: Ready
Now that our container is also running, we can exec into the container and start working on the files.
Since this competitive image extends the Ubuntu Docker image, we will essentially get all the libraries that are present in a
fresh Ubuntu box installation.
docker exec -it competitive bash
Gotcha
When we restart the system, Docker containers will be stopped. If we need to use the container again, then we need to explicitly start the container using container id next time.
To solve this repetitive action, We can use the following small script to find the container with the name competitive and
start the container if it is not already present.
#!/bin/bash

containerId=`docker ps -a -f 'name=competitive' --format "{{.ID}}"`
if [ ! -z "$containerId" ]; then
    echo "Found existing container, Starting it"
    docker start $containerId
else
    echo "Container not found with name competitive, creating one"
    docker run \
        -e TERM=screen-256color \
        -v $(pwd):/app/competitive \
        -v $HOME/.dotfiles/nvim/.config/nvim:/root/.config/nvim \
        --name competitive -dit competitive
fi

echo "Starting container"
docker exec -it competitive bash
In the above snippet, we are first checking if there is any Docker container with the name competitive. If we found one, then it fetches the container ID and starts the Docker container, else it creates a new Docker container and exec into it.
I had a great time exploring docker and what we can achieve with it, to improve the Developer Experience.